
How to Optimize Your Bike Fit Without Guesswork: The Ultimate Bike Fit Checklist
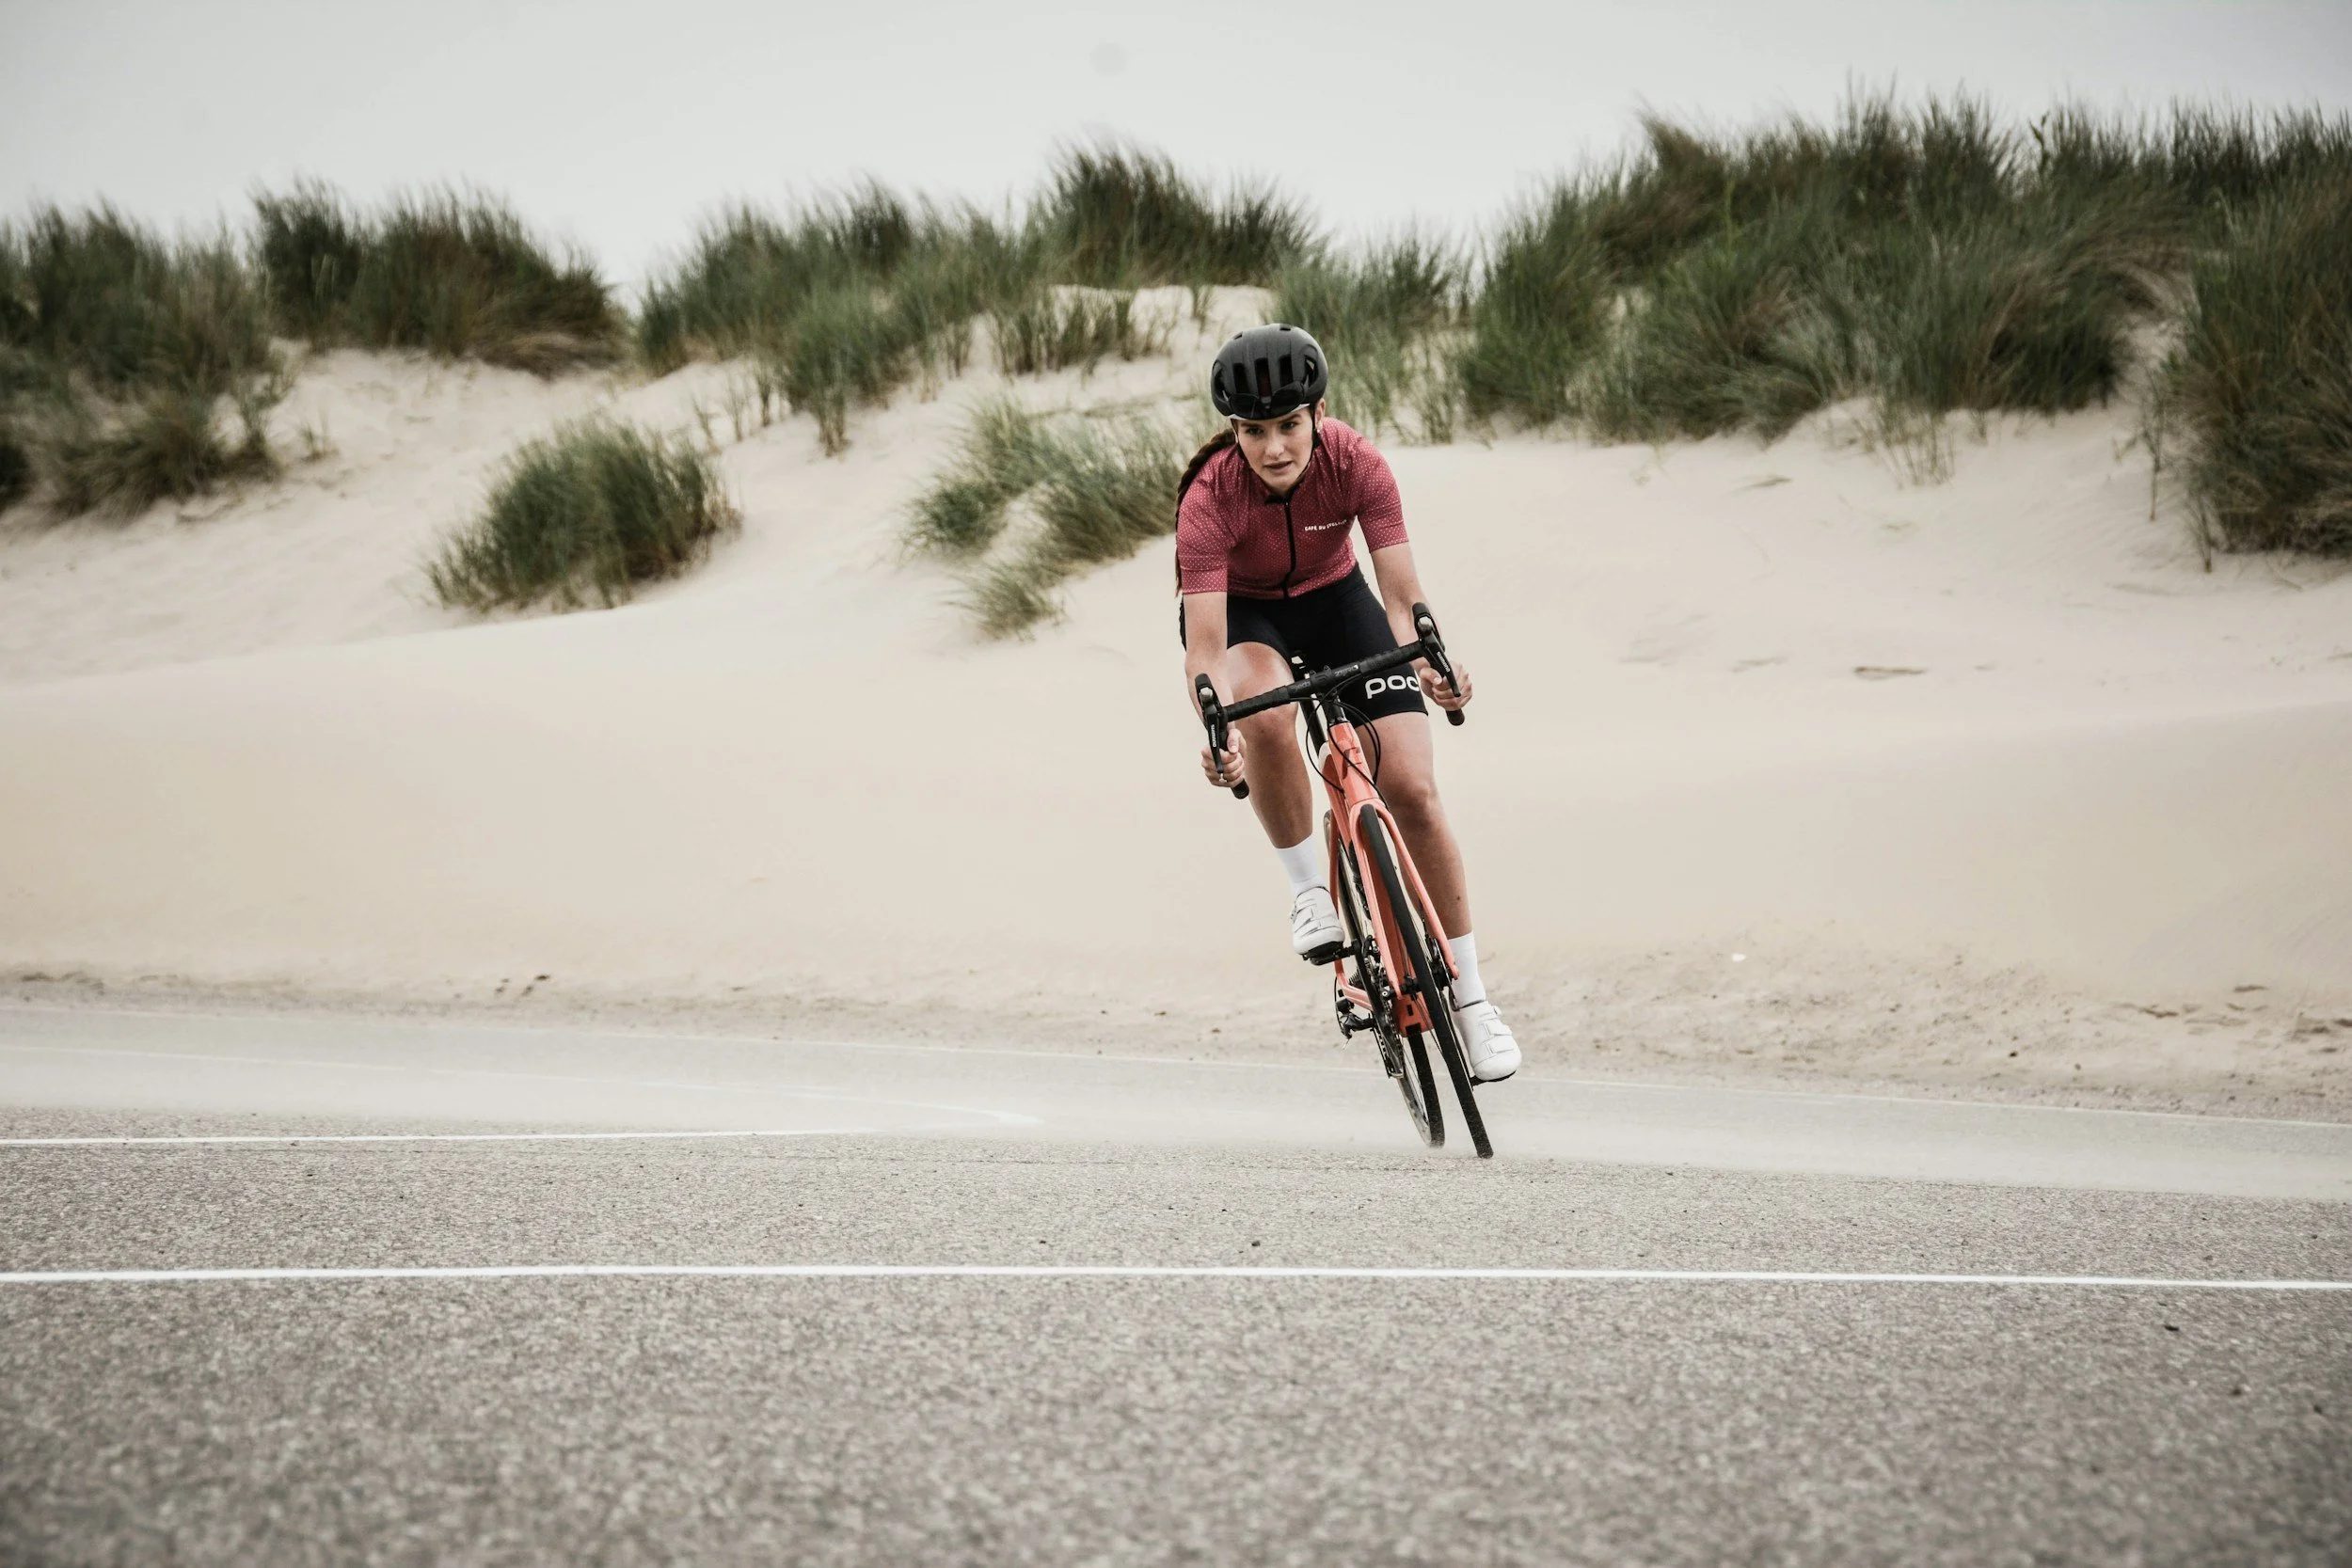
A bike that doesn’t fit your body can result in all sort of issues on a ride.
Knee pain.
Hand numbness.
Low back tightness.
Neck strain.
Power that just feels stuck.
Most cyclists try to fix this by stretching more, riding more, or buying new gear.
But your position on the bike influences everything from joint stress to breathing mechanics to long-term comfort.
That is exactly why I created The Ultimate Bike Fit Checklist, which you can download below👇. It walks you through the most important variables in your bike setup so you can stop guessing and start adjusting with purpose.
In this article, we’re going to dive into the why behind each category in the checklist. As a physical therapist, it’s incredibly important to me that people learn the reasoning behind what I recommend, not just the what. To put those pieces together at the end of this blog, I’ve got the checklist available to download so you can have it for yourself with exact numbers, parameters, and measurement landmarks, so you have a resource to refer back to when you need it.
Throughout this blog you’ll also get info regarding other variables that can affect your pain; because often the bike fit and body biomechanics work together to contribute to symptoms on the bike.
Why Bike Fit Is More Than Just Saddle Height
Most riders think bike fit equals saddle height.
That is only one variable.
Your position affects:
Knee joint load
Hip mechanics
Calf and hamstring contribution
Nerve compression in the hands
Core demand
Breathing efficiency
Power production
A small disadvantaged tweak repeated thousands of times becomes a big problem.
The checklist focuses on five key areas:
Saddle height
Knee over pedal position
Ankling
Shoulder angle
Stack height and torso angle
Each one influences the others. Let’s explore how.
1. Saddle Height: The Starting Point
Saddle height determines how your knee, hip, and ankle move through the entire pedal stroke.
When it is too high, you may see:
Hips rocking side to side
Posterior knee pain
Hamstring strain
Excessive toe pointing
When it is too low, you may experience:
Anterior knee pain
Quad overload
Early fatigue
Reduced power
For specific angle range where to measure from so you are not estimating based on random internet advice, download the checklist now.
👉Also, wondering if your knee pain might be related to fit? Check out this post:
Knee Pain While Biking? Your Bike Fit May Be The Culprit to see how saddle height plays a role.
And, if you are struggling with lower back pain while riding, this article walks through how saddle height influences it:
👉 Lower Back Pain and Saddle Height, and How To Find The Right Height For You
2. Knee Over Pedal: Let’s Bust the KOPS Myth
You have probably heard of KOPS — Knee Over Pedal Spindle.
Traditionally, riders were told your kneecap should line up directly over the pedal spindle when the crank is horizontal.
Here is the truth:
KOPS is not a performance rule. It is a useful reference point at best.
Your ideal knee position depends on:
Femur length
Tibia length
Saddle height
Cleat position
Riding discipline
Strength and mobility
Blindly forcing your knee directly over the spindle can actually increase joint stress in some riders.
Knee position should be assessed using anatomical landmarks, force production, and overall rider comfort.
Because knee position changes every time you adjust saddle height or cleats.
The Most Common KOPS Mistakes I See
❌ Dropping the plumb line from the kneecap instead of the tibial tuberosity.
❌ Measuring while clipped in but not at true 3 o’clock or 6 o’clock crank position.
❌ Ignoring that changing saddle height alters knee position automatically.
❌ Forgetting cleat position shifts the relationship entirely.
❌ Adjusting saddle fore-aft without re-checking shoulder angle and weight distribution.
This is why blindly chasing “knee over pedal” rarely solves knee pain long term.
3. Ankling: The Hidden Variable Most Riders Miss
Your ankle position at the bottom of the pedal stroke tells you a lot.
Too much toe pointing may indicate:
Saddle too high
Cleats too far forward
Overreliance on calves
Too flat or heel dropped may indicate:
Limited ankle mobility
Compensation for posterior chain tightness
Most riders never check this.
Small changes here can dramatically reduce calf strain, knee pain, and Achilles irritation.
If calf or Achilles issues have been holding you back, this may be why.
👉Psst: Sore Hamstrings After Cycling? Make Sure You’re Not Making These Mistakes has some context on saddle height and ankle position.
Now let’s start to talk about where bike fit considerations for different types of bikes start to diverge
Road and Gravel Bike Aspects:
On a road or gravel bike, you are balancing:
Sustained power
Efficiency
Aerodynamics
Endurance comfort
Your shoulder angle and torso position will influence how you breathe, handle your bike, and how much stress ends up in your neck and hands.
If your handlebars are too low relative to your mobility, your neck must extend excessively to see the road ahead. That contributes to:
Neck strain
Hand numbness
Upper back fatigue
👉Psst: These posts dive deeper into specific symptoms you may experience:
Hand Numbness With Cycling? Here’s How To Fix It
Neck Pain With Cycling and How To Fix It
Mountain Bike Specific Aspects:
Mountain biking demands:
Stability
Technical control
Quick weight shifts
Handling precision
Because of that, shoulder angle and torso angle targets differ from road.
A more upright and slightly altered shoulder strategy improves handling and responsiveness on technical terrain.
Many riders unknowingly copy their road fit to their mountain bike and then wonder why technical descents feel unstable.
The checklist separates road and mountain recommendations clearly so you are not applying the wrong standard to the wrong bike.
Important: These Are Guidelines, Not Rigid Rules
Every rider is unique and their bike fit needs to consider:
Limb lengths
Mobility
Previous injuries
Strength profile
Riding goals
My checklist provides evidence-based starting points.
From there, you fine tune based on comfort, power, and what your body tells you on the ride.
Next Steps: Download The Ultimate Bike Fit Checklist
This blog gives you the framework and the understanding on how to use this info.
The downloadable checklist gives you further executable guidelines including:
Exact angle targets
Anatomical landmarks for measuring
Visual examples
Adjustment guidance
Road vs mountain comparisons
If you are ready to stop guessing and start riding in a position that supports your body, download it below.👇
Download The Ultimate Bike Fit Checklist
Lastly: When a Checklist Is Not Enough
If you want deeper analysis beyond angle ranges and static measurements, that is where my Ultimate Virtual Bike Fit Program comes in.
Inside the program we go beyond surface measurements and analyze:
Movement patterns under load
Right vs Left deficits
Restrictions influencing joint angles
Discipline-specific demands
Your injury history
The checklist is your starting point.
The virtual bike fit is your precision solution that blends biomechanics and performance goals.
👉 Learn more about my Virtual Bike Fit Program here:
If you’re ready to continue learning, check out these resources next: